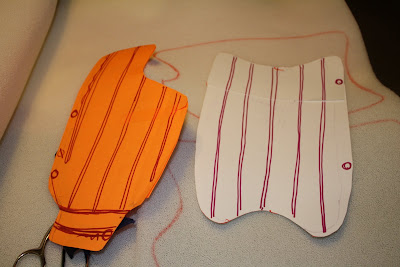
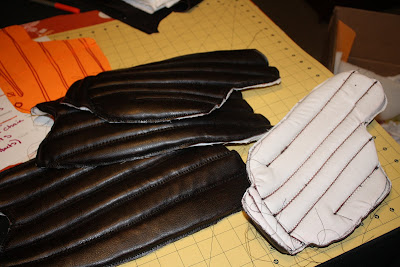
Well, I've finished the embroidery on the arm guards and have pinned the bias tape around the edges:
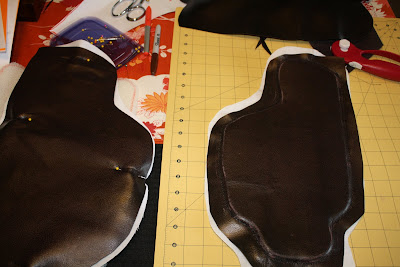
 Which is great--they're progressing along nicely. Though there's still a lot of detailing that I have to do with snaps and straps. What I'd like to do is make elastic straps to hold them into place and then make pleather faux straps with non-functioning buckles to hide the elastic. It's that kind of detail work that isn't necessary but makes me happy nevertheless. Also I found some perfect (size and color and style) buckles at JoAnn, but they didn't have as many as I needed. So...yeah.
I've also finished making the vest--though it needs a few alterations. I started with this men's vest pattern (which I conveniently already owned), made a mock-up of half of it, did a couple of alterations on the pattern and then put the vest together. The outside fabric is the same fabric I'm using for my robes--which is black crepe-back satin, except I'm using the matte side instead of the shiny side--and the vest lining is a black satin brocade (on the front) and a white dupioni silk (on the back) both of which came from my fabric storage. Here's a progress shot:

Finished, the vest didn't fit quite as perfectly as I wanted it to--forcing a men's vest to fit an hourglass figure is tricky business. So I pinned some alterations into place that made it lay right. Just to be sure (because the vest needs to be have a really nice tailored look) I'm going to baste the alterations into place (i.e. I'm going to hand-sew them loosely and take the pins out before I make the final machine sewn alterations) and then finish the whole shebang. I also have to put a faux welt pocket on it. And buttons. But here's a shot of the vest thus far with pinned-in alterations as modeled by my dress form, Sugar:
 I also really like the look and weight of the dupioni silk lining on the vest. I may use a white dupioni to line the robe as well. I thought it would be too shiny but I think I was mistaken. And I'm a sucker for silk. But, then, who isn't?